Browser-Based Applications With A BFF
In this quickstart, you will build a browser-based JavaScript client application with a backend. This means your application will have server-side code that supports the frontend application code. This is known as the Backend For Frontend (BFF) pattern.
You will implement the BFF pattern with the help of the Duende.BFF library.
The backend will implement all the security protocol interactions with the
token server and will be responsible for management of the tokens. The
client-side JavaScript authenticates with the BFF using traditional cookie
authentication. This simplifies the JavaScript in the client-side, and reduces
the attack surface of the application.
The features that will be shown in this quickstart will allow the user to log in with IdentityServer, invoke a local API hosted in the backend (secured with cookie authentication), invoke a remote API running in a different host (secured with an access token), and logout of IdentityServer.
New Project For The JavaScript Client And BFF
Section titled “New Project For The JavaScript Client And BFF”Begin by creating a new project to host the JavaScript application and its BFF. A single project containing the front-end and its BFF facilitates cookie authentication - the front end and BFF need to be on the same host so that cookies will be sent from the front end to the BFF.
Create a new ASP.NET Core web application and add it to the solution by running
the following commands from the src directory:
dotnet new web -n JavaScriptClientcd ..dotnet sln add ./src/JavaScriptClientAdd Additional NuGet Packages
Section titled “Add Additional NuGet Packages”Install NuGet packages to add BFF and OIDC support to the new project by running
the following commands from the src/JavaScriptClient directory:
dotnet add package Microsoft.AspNetCore.Authentication.OpenIdConnectdotnet add package Duende.BFFdotnet add package Duende.BFF.YarpModify Hosting
Section titled “Modify Hosting”Modify the JavaScriptClient project to run on https://localhost:5003. Its
Properties/launchSettings.json should look like this:
{ "$schema": "https://json.schemastore.org/launchsettings.json", "profiles": { "JavaScriptClient": { "commandName": "Project", "dotnetRunMessages": true, "launchBrowser": true, "applicationUrl": "https://localhost:5003", "environmentVariables": { "ASPNETCORE_ENVIRONMENT": "Development" } } }}Add Services
Section titled “Add Services”In the BFF pattern, the server-side code triggers and receives OpenID Connect
requests and responses. To do that, it needs the same services configured as the
WebClient did in the prior web application quickstart. Additionally, the BFF services need to be added with
AddBff(). In addition, the offline_access scope is requested that will result in
a refresh token that will be used by the BFF library to automatically refresh the
access token for the remote API if needed.
Add the following to src/JavaScriptClient/Program.cs:
using System.IdentityModel.Tokens.Jwt;using System.Security.Claims;using Duende.Bff.Yarp;using Microsoft.AspNetCore.Authorization;
var builder = WebApplication.CreateBuilder(args);
builder.Services.AddAuthorization();
builder.Services    .AddBff()    .ConfigureOpenIdConnect(options =>    {        options.Authority = "https://localhost:5001";        options.ClientId = "bff";        options.ClientSecret = "secret";        options.ResponseType = "code";        options.Scope.Add("api1");        options.Scope.Add("offline_access");        options.SaveTokens = true;        options.GetClaimsFromUserInfoEndpoint = true;        options.MapInboundClaims = false;    })    .ConfigureCookies(options => options.Cookie.SameSite = SameSiteMode.Strict)    .AddRemoteApis();
var app = builder.Build();using System.IdentityModel.Tokens.Jwt;using System.Security.Claims;using Duende.Bff.Yarp;using Microsoft.AspNetCore.Authorization;
var builder = WebApplication.CreateBuilder(args);
builder.Services.AddAuthorization();
builder.Services .AddBff() .AddRemoteApis();
builder.Services .AddAuthentication(options => { options.DefaultScheme = "Cookies"; options.DefaultChallengeScheme = "oidc"; options.DefaultSignOutScheme = "oidc"; }) .AddCookie("Cookies") .AddOpenIdConnect("oidc", options => { options.Authority = "https://localhost:5001"; options.ClientId = "bff"; options.ClientSecret = "secret"; options.ResponseType = "code"; options.Scope.Add("api1"); options.Scope.Add("offline_access"); options.SaveTokens = true; options.GetClaimsFromUserInfoEndpoint = true; options.MapInboundClaims = false; });
var app = builder.Build();Add Middleware
Section titled “Add Middleware”Similarly, the middleware pipeline for this application will resemble the
WebClient, with the addition of the BFF middleware and the BFF endpoints.
Continue by adding the following to src/JavaScriptClient/Program.cs:
var app = builder.Build();
if (app.Environment.IsDevelopment()){    app.UseDeveloperExceptionPage();}
app.UseDefaultFiles();app.UseStaticFiles();
app.UseRouting();app.UseAuthentication();
app.UseBff();
app.UseAuthorization();app.MapBffManagementEndpoints();
app.Run();
Add HTML And JavaScript Files
Section titled “Add HTML And JavaScript Files”Next, add HTML and JavaScript files for your client-side application to the
wwwroot directory in the JavaScriptClient project. Create that directory
(src/JavaScriptClient/wwwroot) and add an index.html and an app.js file to
it.
index.html
The index.html file will be the main page in your application. It contains
- buttons for the user to login, logout, and call the APIs
- a
<pre>container used to show messages to the user - a
<script>tag to include our JavaScript file
It should look like this:
<!DOCTYPE html><html>  <head>    <meta charset="utf-8" />    <title></title>  </head>  <body>    <button id="login">Login</button>    <button id="local">Call Local API</button>    <button id="remote">Call Remote API</button>    <button id="logout">Logout</button>
    <pre id="results"></pre>
    <script src="app.js"></script>  </body></html>
app.js
The app.js file will contain the client-side code for your application.
First, add a helper function to display messages in the <pre>:
function log() {  document.getElementById("results").innerText = "";
  Array.prototype.forEach.call(arguments, function (msg) {    if (typeof msg !== "undefined") {      if (msg instanceof Error) {        msg = "Error: " + msg.message;      } else if (typeof msg !== "string") {        msg = JSON.stringify(msg, null, 2);      }      document.getElementById("results").innerText += msg + "\r\n";    }  });}
Next, you can use the BFF user management endpoint to query if the user is
logged in or not. Notice the userClaims variable is global; it will be needed
elsewhere.
let userClaims = null;
(async function () {  var req = new Request("/bff/user", {    headers: new Headers({      "X-CSRF": "1",    }),  });
  try {    var resp = await fetch(req);    if (resp.ok) {      userClaims = await resp.json();
      log("user logged in", userClaims);    } else if (resp.status === 401) {      log("user not logged in");    }  } catch (e) {    log("error checking user status");  }})();
Next, register click event handlers on the buttons:
document.getElementById("login").addEventListener("click", login, false);document.getElementById("local").addEventListener("click", localApi, false);document.getElementById("remote").addEventListener("click", remoteApi, false);document.getElementById("logout").addEventListener("click", logout, false);Next, implement the login and logout functions.
Login is simple - just redirect the user to the BFF login endpoint.
function login() { window.location = "/bff/login";}Logout is more involved, as you need to redirect the user to the BFF logout
endpoint, which requires an anti-forgery token to prevent cross site request
forgery attacks. The userClaims that you populated earlier contain that token
and the full logout URL in its bff:logout_url claim, so redirect to that url:
function logout() { if (userClaims) { var logoutUrl = userClaims.find( (claim) => claim.type === "bff:logout_url" ).value; window.location = logoutUrl; } else { window.location = "/bff/logout"; }}Finally, add empty stubs for the other button event handler functions. You will implement those after you get login and logout working.
async function localApi() {}
async function remoteApi() {}
Add JavaScript Client Registration To IdentityServer
Section titled “Add JavaScript Client Registration To IdentityServer”Now that the client application is ready to go, you need to define a configuration entry in IdentityServer for the new JavaScript client.
In the IdentityServer project locate the client configuration in
src/IdentityServer/Config.cs. Add a new Client to the list for your new
JavaScript application. Because this client uses the BFF pattern, the
configuration will be very similar to the Web client. In addition, requesting
the offline_access scope should be allowed for this client. It should have the
configuration listed below:
// JavaScript BFF clientnew Client{    ClientId = "bff",    ClientSecrets = { new Secret("secret".Sha256()) },
    AllowedGrantTypes = GrantTypes.Code,
    // where to redirect to after login    RedirectUris = { "https://localhost:5003/signin-oidc" },
    // where to redirect to after logout    PostLogoutRedirectUris = { "https://localhost:5003/signout-callback-oidc" },    AllowOfflineAccess = true,
    AllowedScopes = new List<string>    {        IdentityServerConstants.StandardScopes.OpenId,        IdentityServerConstants.StandardScopes.Profile,        "api1"    }}
Run And Test Login And Logout
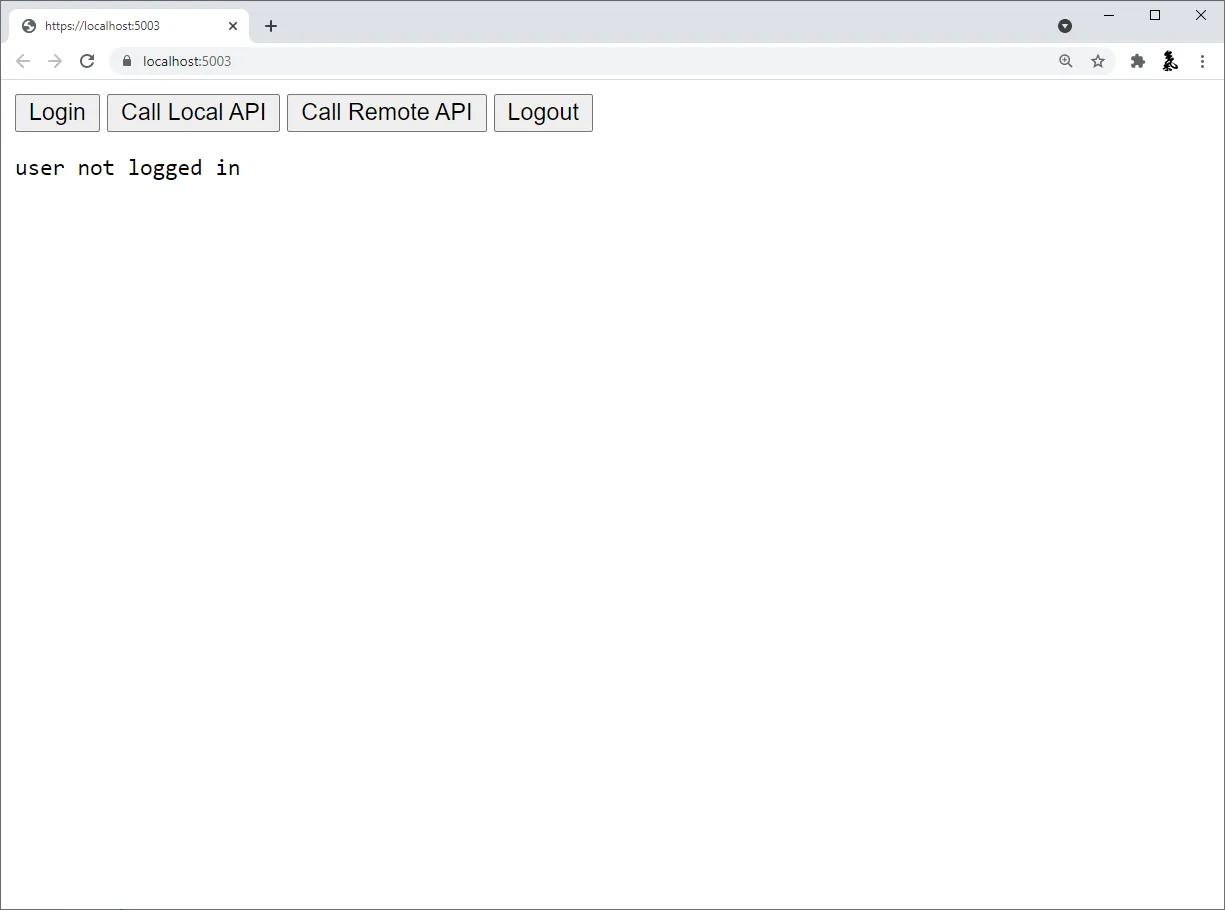
Section titled “Run And Test Login And Logout”At this point, you should be able to run the JavaScriptClient application.
You should see that the user is not logged in initially.
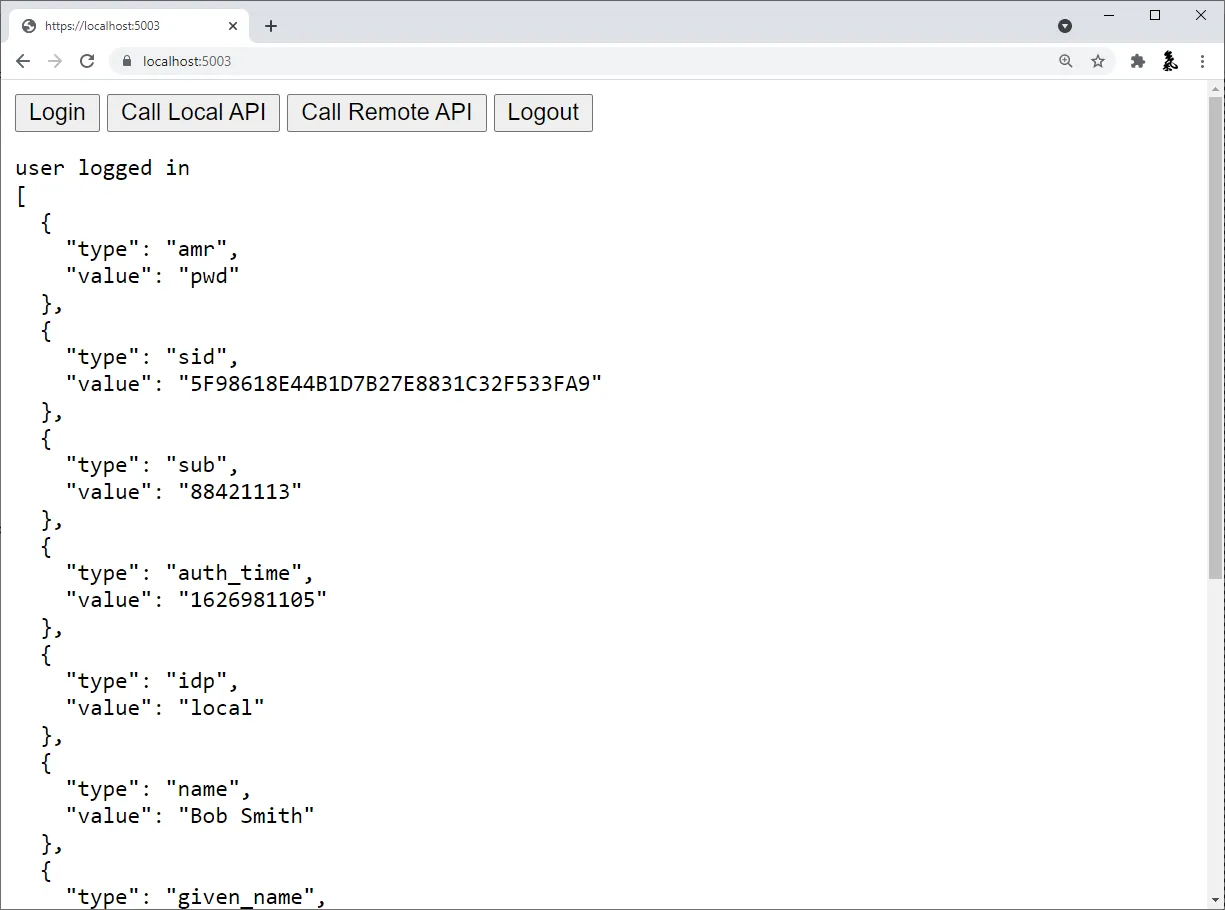
When you click the login button, you’ll be redirected to IdentityServer to
login. After you log in, you’ll be redirected back to the JavaScriptClient
application, where you’ll be signed in with the Cookies authentication scheme with
your tokens saved in the session.
The app loads again, but this time it has a session cookie. So,
when it makes the HTTP request to get userClaims, that cookie is included in the
request. This allows the BFF middleware to authenticate the user and return user
info. Once the JavaScriptClient application receives the response, the user
should appear logged in and their claims should be displayed.
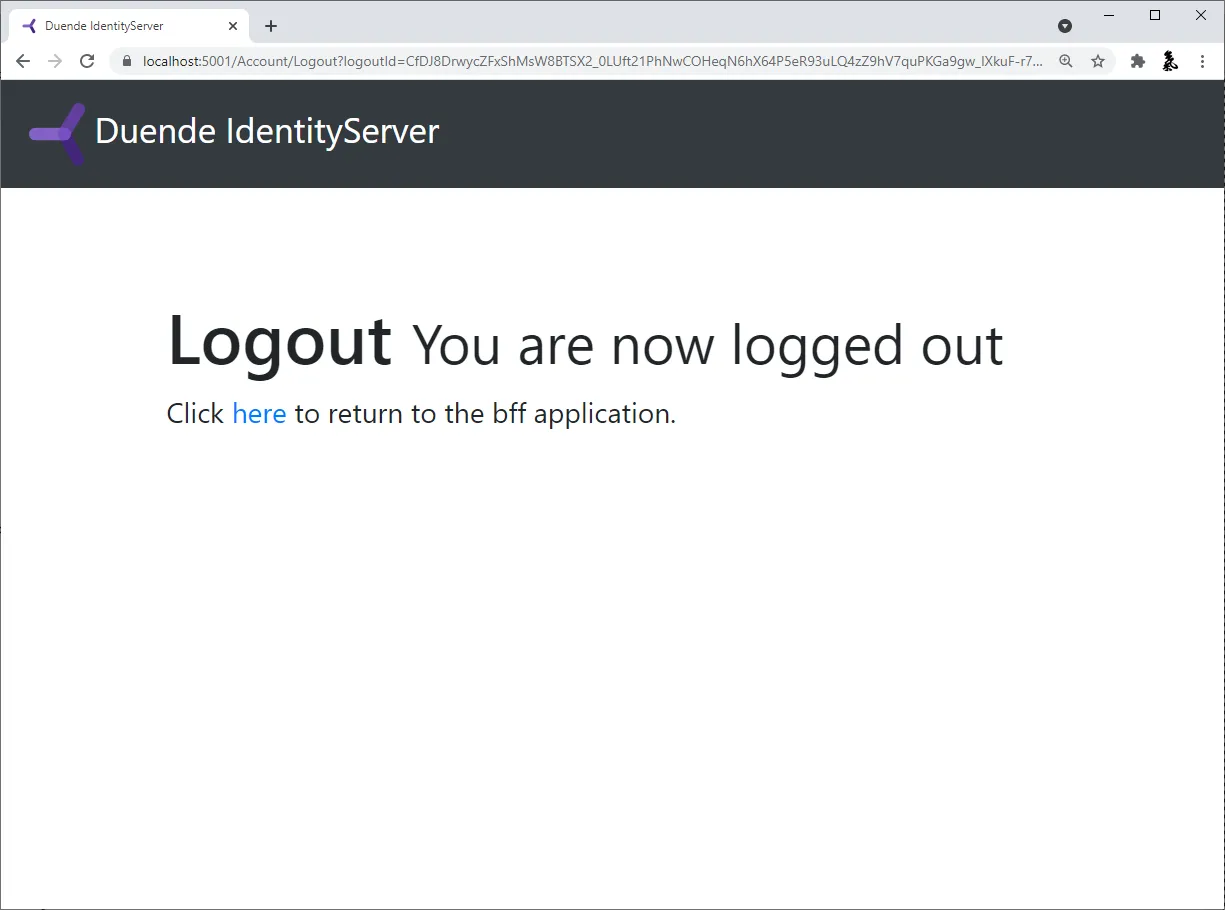
Finally, the logout button should successfully get the user logged out.
Add API Support
Section titled “Add API Support”Now that you have login and logout working, you will add support to invoke both local and remote APIs.
A local API is an endpoint that is hosted in the same backend as the
JavaScriptClient application. Local APIs are intended to be APIs that only
exist to support the JavaScript frontend, typically by providing UI specific
data or aggregating data from other sources. Local APIs are authenticated with
the user’s session cookie.
A remote API is an API running in some other host than the JavaScriptClient
application. This is useful for APIs that are shared by many different
applications (e.g. mobile app, other web apps, etc.). Remote APIs are
authenticated with an access token. Fortunately, the JavaScriptClient
application has an access token stored in the user’s session. You will use the
BFF proxy feature to accept a call from the JavaScript running in the browser
authenticated with the user’s session cookie, retrieve the access token for the
user from the user’s session, and then proxy the call to the remote API, sending
the access token for authentication.
Define A Local API
Section titled “Define A Local API”Local APIs can be defined using controllers or with Minimal API Route
Handlers.
For simplicity, this quickstart uses a minimal API with its handler defined
directly in Program.cs, but you can organize your Local APIs however you like.
Add a handler to src/JavaScriptClient/Program.cs for the local API:
[Authorize]static IResult LocalIdentityHandler(ClaimsPrincipal user){ var name = user.FindFirst("name")?.Value ?? user.FindFirst("sub")?.Value; return Results.Json(new { message = "Local API Success!", user = name });}Update Routing To Accept Local And Remote API Calls
Section titled “Update Routing To Accept Local And Remote API Calls”Next, you need to register both the local API and the BFF proxy for the remote
API in the ASP.NET Core routing system. Add the code below to the endpoint configuration code in src/JavaScriptClient/Program.cs.
  app.MapBffManagementEndpoints();
  // Uncomment this for Controller support  // app.MapControllers()  //     .AsBffApiEndpoint();
  app.MapGet("/local/identity", LocalIdentityHandler)      .AsBffApiEndpoint();
  app.MapRemoteBffApiEndpoint("/remote", new Uri("https://localhost:6001"))      .WithAccessToken(RequiredTokenType.User);
The call to the AsBffApiEndpoint() fluent helper method adds BFF support to
the local APIs. This includes anti-forgery protection and suppressing
login redirects on authentication failures and instead returning 401 and 403
status codes under the appropriate circumstances.
MapRemoteBffApiEndpoint() registers the BFF proxy for the remote API and
configures it to pass the user’s access token.
Call The APIs From JavaScript
Section titled “Call The APIs From JavaScript”Back in src/JavaScriptClient/wwwroot/app.js, implement the two API button
event handlers like this:
async function localApi() {  var req = new Request("/local/identity", {    headers: new Headers({      "X-CSRF": "1",    }),  });
  try {    var resp = await fetch(req);
    let data;    if (resp.ok) {      data = await resp.json();    }    log("Local API Result: " + resp.status, data);  } catch (e) {    log("error calling local API");  }}
async function remoteApi() {  var req = new Request("/remote/identity", {    headers: new Headers({      "X-CSRF": "1",    }),  });
  try {    var resp = await fetch(req);
    let data;    if (resp.ok) {      data = await resp.json();    }    log("Remote API Result: " + resp.status, data);  } catch (e) {    log("error calling remote API");  }}
The path for the local API is exactly what you set in the call to MapGet
in src/JavaScriptClient/Program.cs.
The path for the remote API uses a “/remote” prefix to indicate that the BFF proxy should be used, and the remaining path is what’s then passed when invoking the remote API (“/identity” in this case).
Notice both API calls require an ‘X-CSRF’: ‘1’ header, which acts as the anti-forgery token.
Run And Test The API Calls
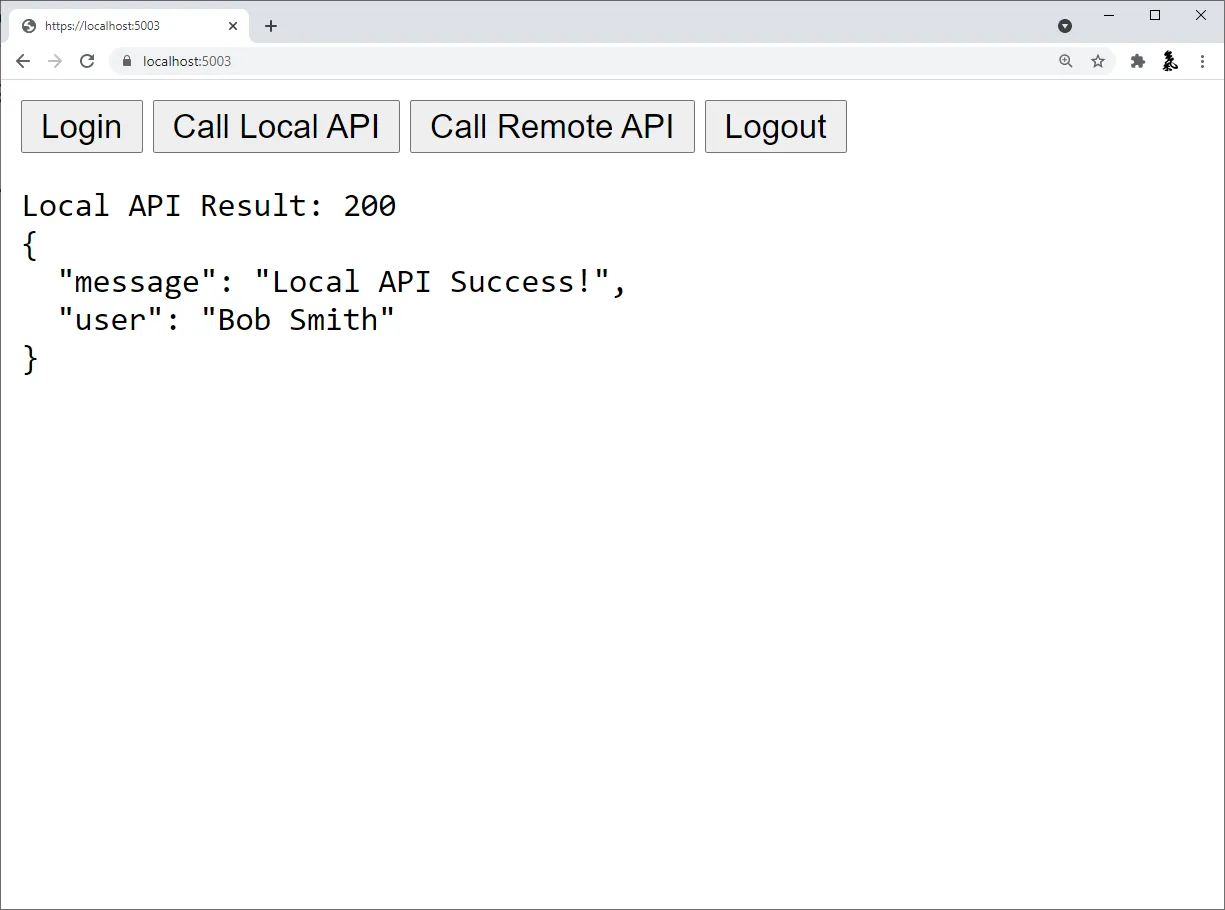
Section titled “Run And Test The API Calls”At this point, you should be able to run the JavaScriptClient application and
invoke the APIs. The local API should return something like this:
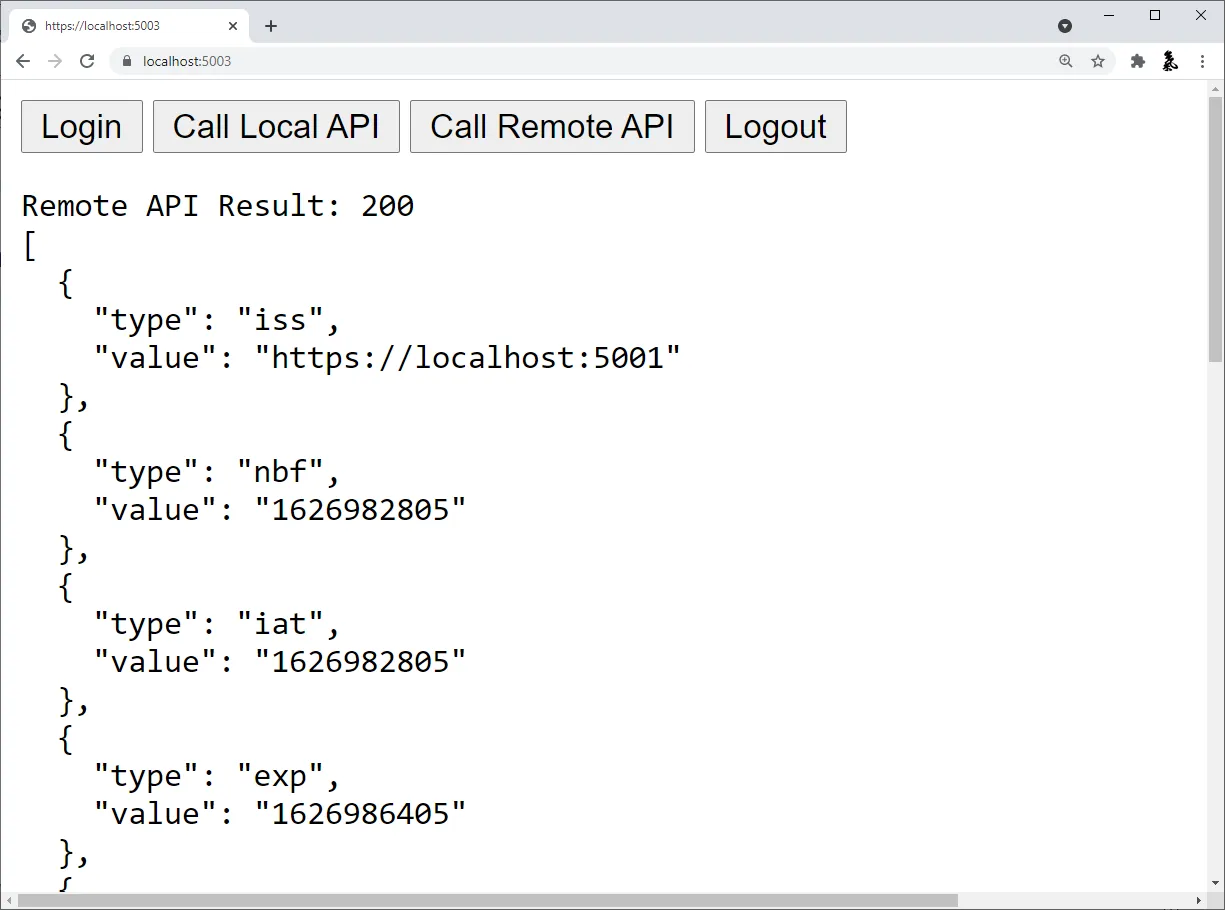
And the remote API should return something like this:
You now have the start of a JavaScript client application that uses
IdentityServer for sign-in, sign-out, and authenticating calls to local and
remote APIs, using Duende.BFF.