JavaScript Applications Without A Backend
This quickstart will show how to build a browser-based JavaScript client application without a backend. This means your application has no server-side code that can support the frontend application code, and thus all OpenID Connect/OAuth protocol interactions occur from the JavaScript code running in the browser. Also, invoking the API will be performed directly from the JavaScript in the browser.
This design has security concerns. It is no longer recommended. See overview for details. The current best practice uses the “BFF” pattern.
In this quickstart the user will log in to IdentityServer, invoke an API with an access token issued by IdentityServer, and logout of IdentityServer. All of this will be driven from the JavaScript running in the browser.
New Project For The JavaScript Client
Section titled “New Project For The JavaScript Client”Create a new project for the JavaScript application. Beyond being able to serve your application’s HTML and javascript, there are no requirements on the backend. You could use anything from an empty ASP.NET Core application to a Node.js application. This quickstart will use an ASP.NET Core application.
Create a new ASP.NET Core web application and add it to the solution by running
the following commands from the src directory:
dotnet new web -n JavaScriptClientcd ..dotnet sln add ./src/JavaScriptClientModify Hosting
Section titled “Modify Hosting”Modify the JavaScriptClient project to run on https://localhost:5003. Its
Properties/launchSettings.json should look like this:
{ "$schema": "https://json.schemastore.org/launchsettings.json", "profiles": { "JavaScriptClient": { "commandName": "Project", "dotnetRunMessages": true, "launchBrowser": true, "applicationUrl": "https://localhost:5003", "environmentVariables": { "ASPNETCORE_ENVIRONMENT": "Development" } } }}Add Static File Middleware
Section titled “Add Static File Middleware”Given that this project is designed to run client-side, all we need ASP.NET Core to do is to serve up the static HTML and JavaScript files that will make up our application. The static file middleware is designed to do this.
Register the static file middleware in src/JavaScriptClient/Program.cs. The
entire file should look like this:
var builder = WebApplication.CreateBuilder(args);var app = builder.Build();
app.UseDefaultFiles();app.UseStaticFiles();app.Run();
This middleware will now serve up static files from the application’s
src/JavaScriptClient/wwwroot directory. This is where we will put our HTML and
JavaScript files. If that directory does not exist in your project, create it
now.
Reference oidc-client
Section titled “Reference oidc-client”In the prior web application quickstart, we used
a .NET library to handle the OpenID Connect protocol. In this quickstart, we
need a similar library in the JavaScriptClient project, except one that works
in JavaScript and is designed to run in the browser. The oidc-client library
is one such library. It is available via NPM, or as a direct download
from GitHub.
NPM
If you want to use NPM to download oidc-client, then run these commands from
the src/JavaScriptClient directory:
npm i oidc-clientcopy node_modules/oidc-client/dist/* wwwrootThis downloads the latest oidc-client package locally, and then copies the
relevant JavaScript files into src/JavaScriptClient/wwwroot so they can be
served by your application.
Manual download
If you want to download the oidc-client JavaScript files manually, browse to
the GitHub
repository
and download the JavaScript files. Once downloaded, copy them into
src/JavaScriptClient/wwwroot so they can be served by your application.
Add HTML And JavaScript Files
Section titled “Add HTML And JavaScript Files”Next, add HTML and JavaScript files to the src/JavaScriptClient/wwwroot
directory. You will need two HTML files and one JavaScript file (in addition to
the oidc-client.js library). Add index.html, callback.html, and app.js
to wwwroot.
index.html
This will be the main page in your application. It contains
- buttons for the user to login, logout, and call the API
- a
<pre>container used to show messages to the user <script>tags to include your two JavaScript files
It should look like this:
<!DOCTYPE html><html><head>    <meta charset="utf-8"/>    <title></title></head><body><button id="login">Login</button><button id="api">Call API</button><button id="logout">Logout</button>
<pre id="results"></pre>
<script src="oidc-client.js"></script><script src="app.js"></script></body></html>
app.js
This will contain the main code for your application.
First, add a helper function to display messages in the <pre>:
function log() {    document.getElementById("results").innerText = "";
    Array.prototype.forEach.call(arguments, function (msg) {        if (typeof msg !== "undefined") {            if (msg instanceof Error) {                msg = "Error: " + msg.message;            } else if (typeof msg !== "string") {                msg = JSON.stringify(msg, null, 2);            }            document.getElementById("results").innerText += msg + "\r\n";        }    });}
Next, add code to register click event handlers to the three buttons:
document.getElementById("login").addEventListener("click", login, false);document.getElementById("api").addEventListener("click", api, false);document.getElementById("logout").addEventListener("click", logout, false);Next, you will set up the UserManager class from the oidc-client library to
manage the OpenID Connect protocol. It requires similar configuration that was
necessary in the WebClient (albeit with different values). Add this code to
configure and instantiate the UserManager:
var config = { authority: "https://localhost:5001", client_id: "js", redirect_uri: "https://localhost:5003/callback.html", response_type: "code", scope: "openid profile api1", post_logout_redirect_uri: "https://localhost:5003/index.html",};var mgr = new Oidc.UserManager(config);Next, use the UserManager.getUser function to determine if the user is logged
into the JavaScript application. It uses a JavaScript Promise to return the
results asynchronously. The returned User object has a profile property
which contains the claims for the user. There’s also an event called
UserSignedOut that can be handled to detect if the user signs out of the token
server while the SPA application is being used (presumably in a different tab).
Add this code to detect the user’s session status in the JavaScript application:
mgr.events.addUserSignedOut(function () {    log("User signed out of IdentityServer");});
mgr.getUser().then(function (user) {    if (user) {        log("User logged in", user.profile);    } else {        log("User not logged in");    }});
Next, implement the login, api, and logout functions. The UserManager
provides a signinRedirect to log the user in, and a signoutRedirect to log
the user out. The User object that we obtained above also has an
access_token property which can be used to authenticate to a web API. The
access_token will be passed to the web API via the Authorization header with
the Bearer scheme. Add this code to implement those three functions in your
application:
function login() {    mgr.signinRedirect();}
function api() {    mgr.getUser().then(function (user) {        var url = "https://localhost:6001/identity";
        var xhr = new XMLHttpRequest();        xhr.open("GET", url);        xhr.onload = function () {            log(xhr.status, JSON.parse(xhr.responseText));        };        xhr.setRequestHeader("Authorization", "Bearer " + user.access_token);        xhr.send();    });}
function logout() { mgr.signoutRedirect();}callback.html
This HTML file is the designated redirect_uri page once the user has logged
into IdentityServer. It will complete the OpenID Connect protocol sign-in
handshake with IdentityServer. The code for this is all provided by the
UserManager class we used earlier. Once the sign-in is complete, we can then
redirect the user back to the main index.html page. Add this code to complete
the signin process:
<!DOCTYPE html><html><head> <meta charset="utf-8"/> <title></title></head><body><script src="oidc-client.js"></script><script> new Oidc.UserManager({response_mode: "query"}).signinRedirectCallback().then(function () { window.location = "index.html"; }).catch(function (e) { console.error(e); });</script></body></html>Add JavaScript Client Registration To IdentityServer
Section titled “Add JavaScript Client Registration To IdentityServer”Now that the client application is ready to go, you need to define a configuration entry in IdentityServer for the new JavaScript client.
In the IdentityServer project locate the client configuration in
src/IdentityServer/Config.cs. Add a new Client to the list for your new
JavaScript application. It should have the configuration listed below:
// JavaScript Clientnew Client{    ClientId = "js",    ClientName = "JavaScript Client",    AllowedGrantTypes = GrantTypes.Code,    RequireClientSecret = false,
    RedirectUris =           { "https://localhost:5003/callback.html" },    PostLogoutRedirectUris = { "https://localhost:5003/index.html" },    AllowedCorsOrigins =     { "https://localhost:5003" },
    AllowedScopes =    {        IdentityServerConstants.StandardScopes.OpenId,        IdentityServerConstants.StandardScopes.Profile,        "api1"    }}
Allowing Ajax Calls To The Web API With CORS
Section titled “Allowing Ajax Calls To The Web API With CORS”One last bit of configuration that is necessary is to configure CORS in the
Api project. This will allow Ajax calls to be made from
https://localhost:5003 to https://localhost:6001.
Configure CORS
Add the CORS service to the dependency injection system in src/Api/Program.cs:
builder.Services.AddCors(options =>{ // this defines a CORS policy called "default" options.AddPolicy("default", policy => { policy.WithOrigins("https://localhost:5003") .AllowAnyHeader() .AllowAnyMethod(); });});Then add the CORS middleware to the pipeline in src/Api/Program.cs.
app.UseHttpsRedirection();app.UseCors("default");Run The JavaScript Application
Section titled “Run The JavaScript Application”Now you should be able to run the JavaScript client application:
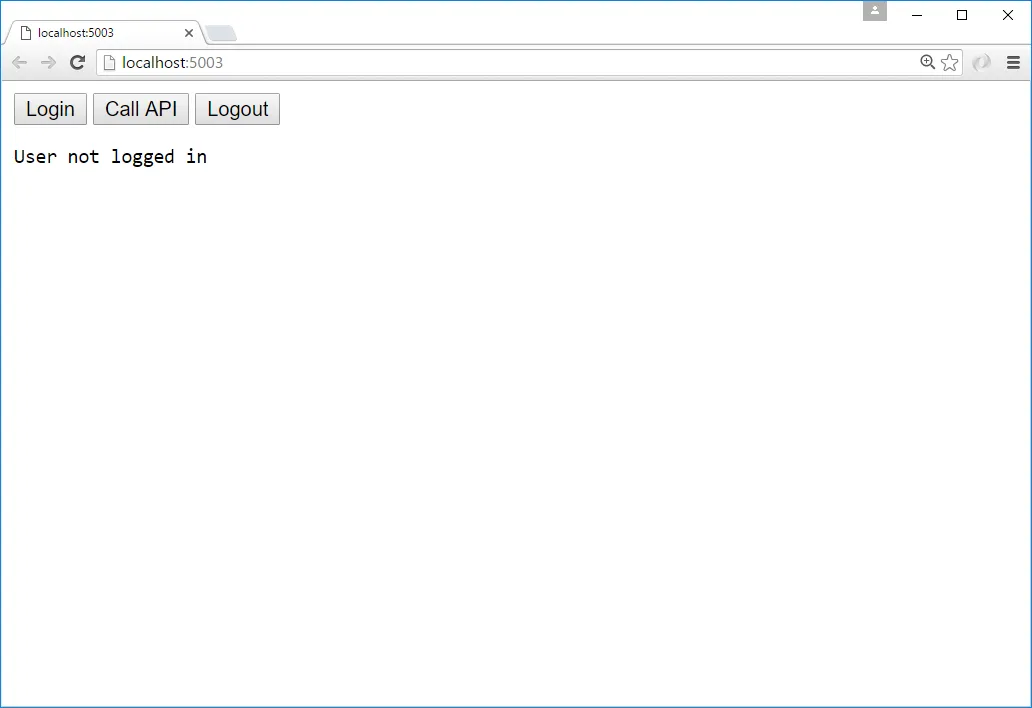
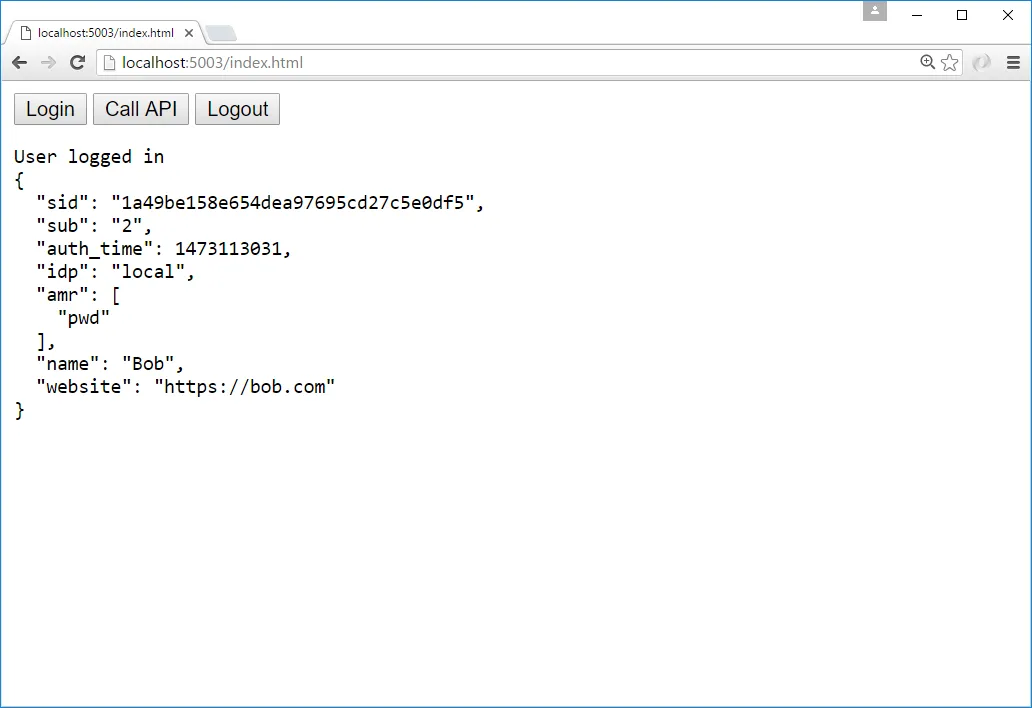
Click the “Login” button to sign the user in. Once the user is returned back to the JavaScript application, you should see their profile information:
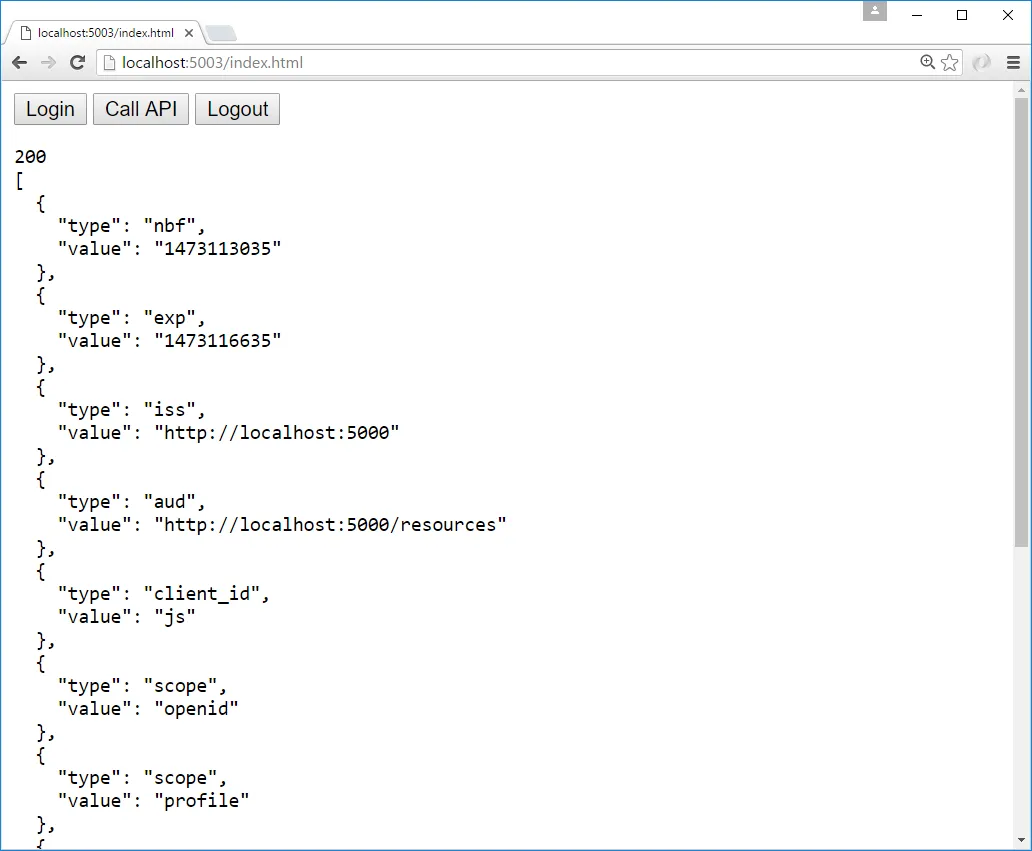
And click the “API” button to invoke the web API:
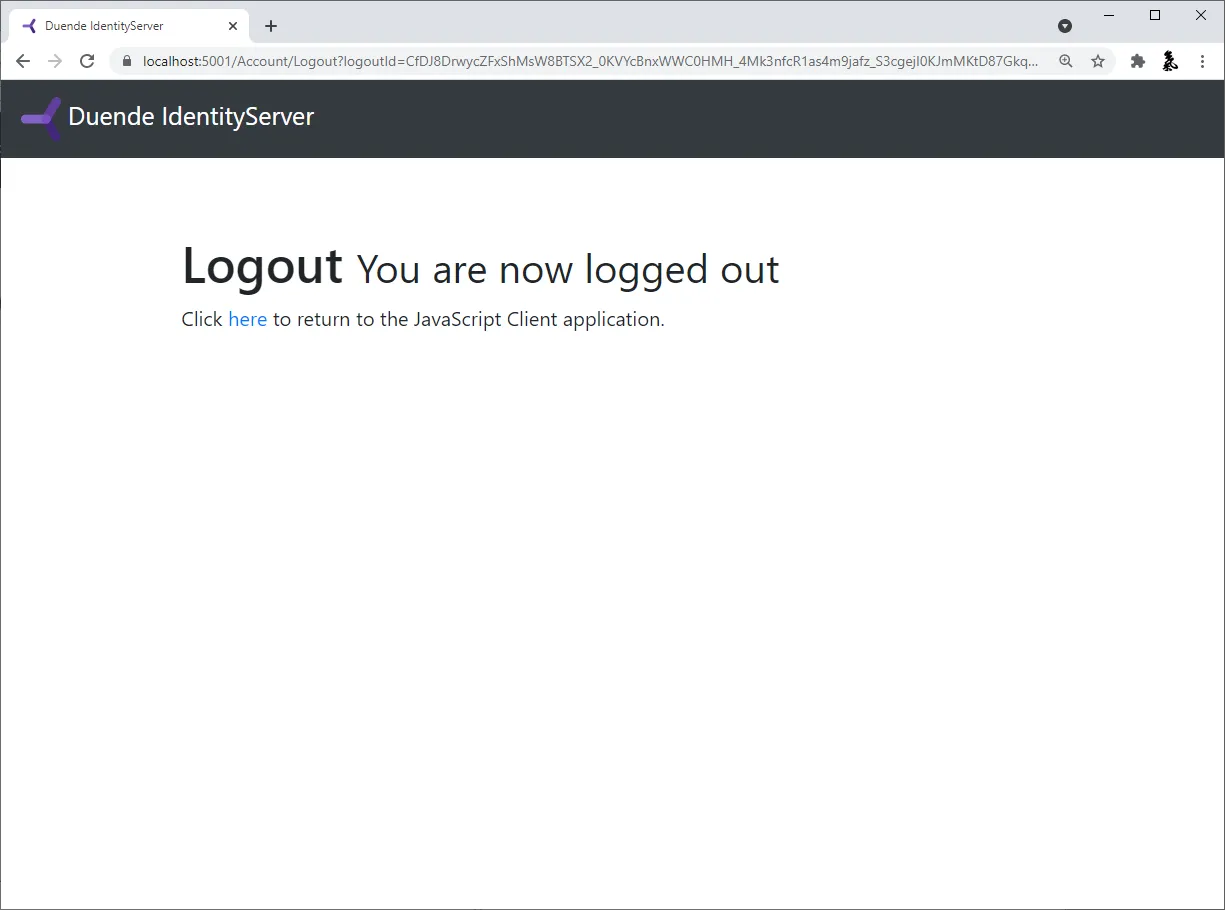
And finally click “Logout” to sign the user out.
You now have the start of a JavaScript client application that uses IdentityServer for sign-in, sign-out, and authenticating calls to web APIs.