Entity Framework Core: Configuration & Operational Data
Welcome to Quickstart 4 for Duende IdentityServer! In this quickstart you will move configuration and other temporary data into a database using Entity Framework.
In addition to the written steps below a YouTube video is available:
In the previous quickstarts, you configured clients and scopes with code. IdentityServer loaded this configuration data into memory on startup. Modifying the configuration required a restart. IdentityServer also generates temporary data, such as authorization codes, consent choices, and refresh tokens. Up to this point in the quickstarts, this data was also stored in memory.
To move this data into a database that is persistent between restarts and across
multiple IdentityServer instances, you will use the
Duende.IdentityServer.EntityFramework library.
Configure IdentityServer
Section titled “Configure IdentityServer”Install Duende.IdentityServer.EntityFramework
Section titled “Install Duende.IdentityServer.EntityFramework”IdentityServer’s Entity Framework integration is provided by the
Duende.IdentityServer.EntityFramework NuGet package. Run the following
commands from the src/IdentityServer directory to replace the
Duende.IdentityServer package with it. Replacing packages prevents any
dependency issues with version mismatches.
dotnet remove package Duende.IdentityServerdotnet add package Duende.IdentityServer.EntityFrameworkInstall Microsoft.EntityFrameworkCore.Sqlite
Section titled “Install Microsoft.EntityFrameworkCore.Sqlite”Duende.IdentityServer.EntityFramework can be used with any Entity Framework
database provider. In this quickstart, you will use Sqlite. To add Sqlite
support to your IdentityServer project, install the Entity framework Sqlite
NuGet package by running the following command from the src/IdentityServer
directory:
dotnet add package Microsoft.EntityFrameworkCore.SqliteConfiguring The Stores
Section titled “Configuring The Stores”Duende.IdentityServer.EntityFramework stores configuration and operational
data in separate stores, each with their own DbContext.
- ConfigurationDbContext: used for configuration data such as clients, resources, and scopes
- PersistedGrantDbContext: used for dynamic operational data such as authorization codes and refresh tokens
To use these stores, replace the existing calls to AddInMemoryClients,
AddInMemoryIdentityResources, and AddInMemoryApiScopes in your
ConfigureServices method in src/IdentityServer/HostingExtensions.cs with
AddConfigurationStore and AddOperationalStore, like this:
public static WebApplication ConfigureServices(this WebApplicationBuilder builder){    builder.Services.AddRazorPages();
    var migrationsAssembly = typeof(Program).Assembly.GetName().Name;    const string connectionString = @"Data Source=Duende.IdentityServer.Quickstart.EntityFramework.db";
    builder.Services.AddIdentityServer()        .AddConfigurationStore(options =>        {            options.ConfigureDbContext = b => b.UseSqlite(connectionString,                sql => sql.MigrationsAssembly(migrationsAssembly));        })        .AddOperationalStore(options =>        {            options.ConfigureDbContext = b => b.UseSqlite(connectionString,                sql => sql.MigrationsAssembly(migrationsAssembly));        })        .AddTestUsers(TestUsers.Users);
//...}Managing Database Schema
Section titled “Managing Database Schema”The Duende.IdentityServer.EntityFramework.Storage NuGet package (installed as
a dependency of Duende.IdentityServer.EntityFramework) contains entity classes
that map onto IdentityServer’s models. These entities are maintained in sync
with IdentityServer’s models - when the models are changed in a new release,
corresponding changes are made to the entities. As you use IdentityServer and
upgrade over time, you are responsible for your database schema and changes
necessary to that schema.
One approach for managing those changes is to use EF migrations, which is what this quickstart will use. If migrations are not your preference, then you can manage the schema changes in any way you see fit.
Adding Migrations
Section titled “Adding Migrations”To create migrations, you will need to install the Entity Framework Core CLI
tool on your machine and the Microsoft.EntityFrameworkCore.Design NuGet
package in IdentityServer. Run the following commands from the
src/IdentityServer directory:
dotnet tool install --global dotnet-efdotnet add package Microsoft.EntityFrameworkCore.DesignHandle Expected Exception
Section titled “Handle Expected Exception”The Entity Framework CLI internally starts up IdentityServer for a short time in order
to read your database configuration. After it has read the configuration, it shuts
IdentityServer down by throwing a HostAbortedException exception. We expect this
exception to be unhandled and therefore stop IdentityServer. Since it is expected, you
do not need to log it as a fatal error. Update the error logging code in
src/IdentityServer/Program.cs as follows:
// See https://github.com/dotnet/runtime/issues/60600 re StopTheHostExceptioncatch (Exception ex) when (ex.GetType().Name is not "StopTheHostException"){ Log.Fatal(ex, "Unhandled exception");}Now run the following two commands from the src/IdentityServer directory to
create the migrations:
dotnet ef migrations add InitialIdentityServerPersistedGrantDbMigration -c PersistedGrantDbContext -o Data/Migrations/IdentityServer/PersistedGrantDbdotnet ef migrations add InitialIdentityServerConfigurationDbMigration -c ConfigurationDbContext -o Data/Migrations/IdentityServer/ConfigurationDbYou should now see a src/IdentityServer/Data/Migrations/IdentityServer
directory in your project containing the code for your newly created migrations.
Initializing Database
Section titled “Initializing Database”Now that you have the migrations, you can write code to create the database from them and seed the database with the same configuration data used in the previous quickstarts.
In src/IdentityServer/HostingExtensions.cs, add this method to initialize the
database:
private static void InitializeDatabase(IApplicationBuilder app){    using (var serviceScope = app.ApplicationServices.GetService<IServiceScopeFactory>()!.CreateScope())    {        serviceScope.ServiceProvider.GetRequiredService<PersistedGrantDbContext>().Database.Migrate();
        var context = serviceScope.ServiceProvider.GetRequiredService<ConfigurationDbContext>();        context.Database.Migrate();        if (!context.Clients.Any())        {            foreach (var client in Config.Clients)            {                context.Clients.Add(client.ToEntity());            }            context.SaveChanges();        }
        if (!context.IdentityResources.Any())        {            foreach (var resource in Config.IdentityResources)            {                context.IdentityResources.Add(resource.ToEntity());            }            context.SaveChanges();        }
        if (!context.ApiScopes.Any())        {            foreach (var resource in Config.ApiScopes)            {                context.ApiScopes.Add(resource.ToEntity());            }            context.SaveChanges();        }    }}
Call InitializeDatabase from the ConfigurePipeline method:
public static WebApplication ConfigurePipeline(this WebApplication app){ app.UseSerilogRequestLogging(); if (app.Environment.IsDevelopment()) { app.UseDeveloperExceptionPage(); }
InitializeDatabase(app);
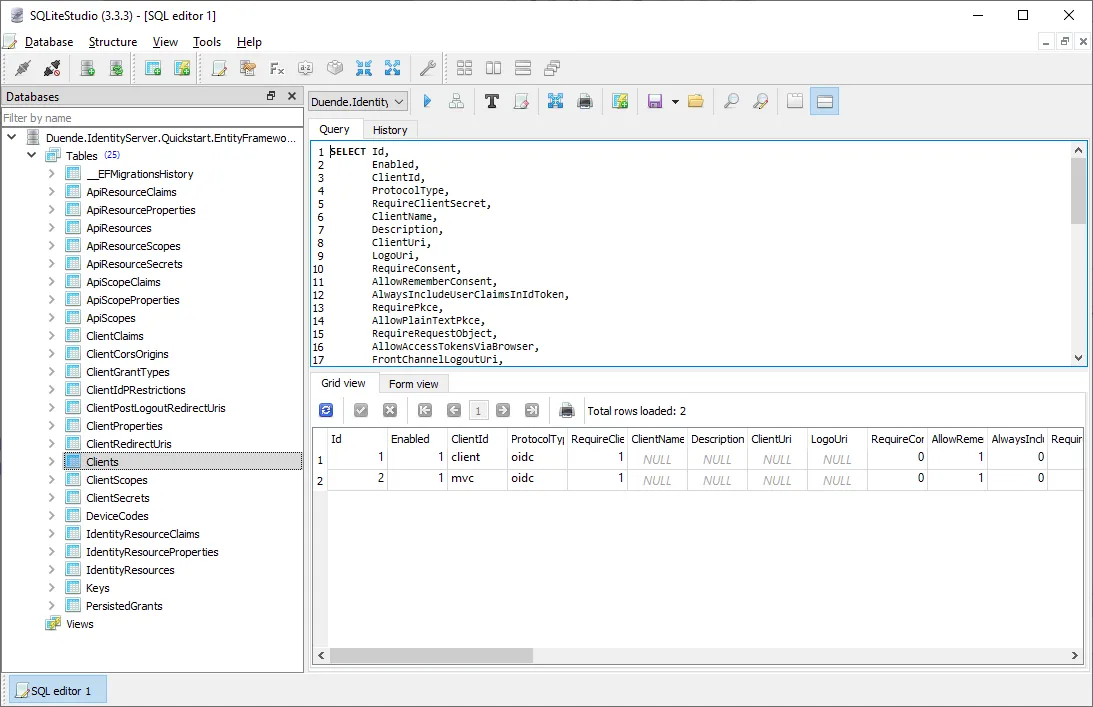
//...}Now if you run the IdentityServer project, the database should be created and seeded with the quickstart configuration data. You should be able to use a tool like SQL Lite Studio to connect and inspect the data.
Run The Client Applications
Section titled “Run The Client Applications”You should now be able to run any of the existing client applications and sign-in, get tokens, and call the API — all based upon the database configuration.